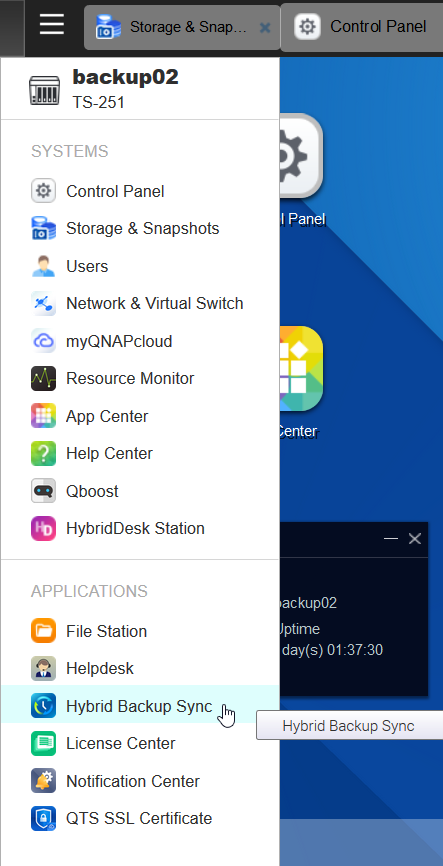
QNAP - Hybrid Backup Sync 3.0 to BackBlaze B2

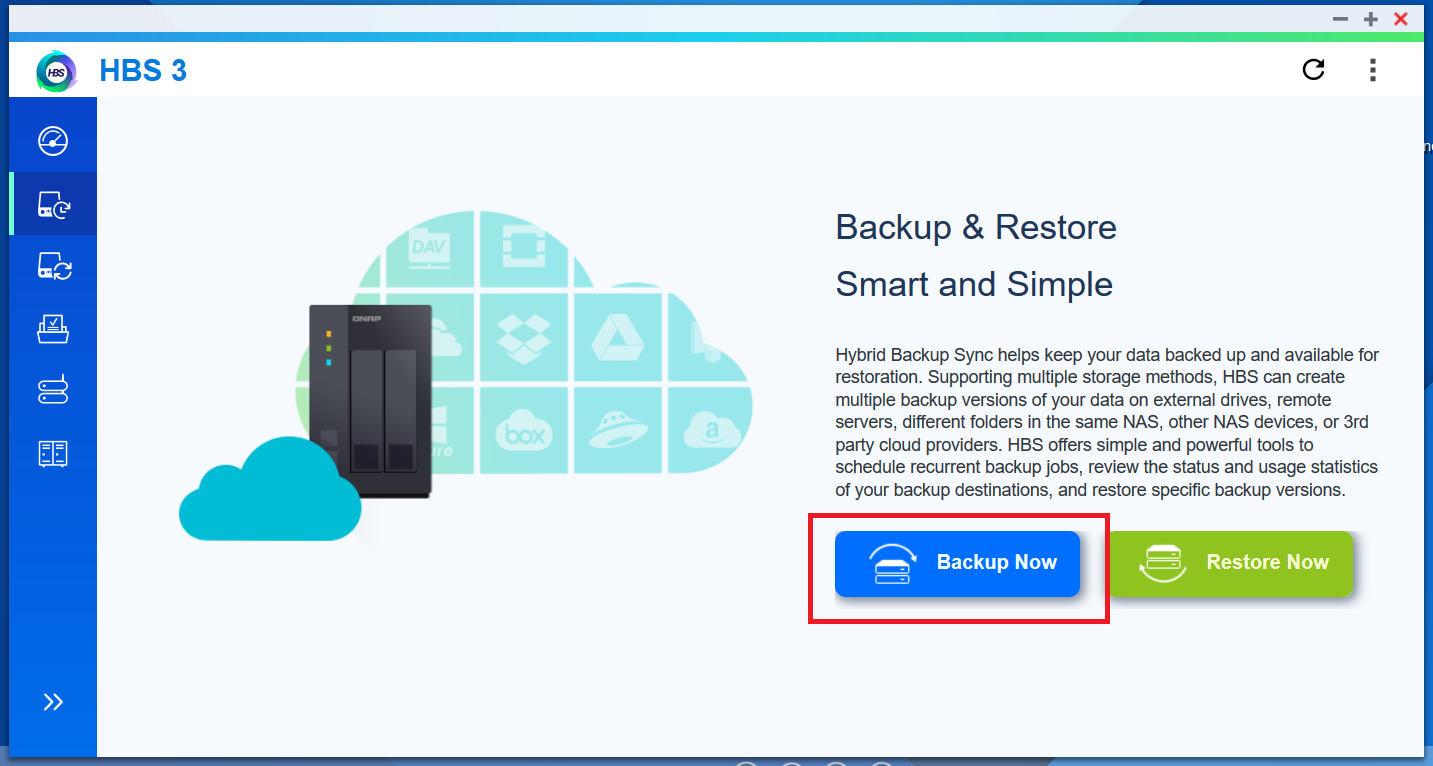
In this article I'll show you how to backup your data from QNAP to BackBlaze B2 object storage, by using Hybrid Backup Sync 3
HBS 3 is in beta, you can tested it out here : https://www.qnap.com/solution/hbs3
You can ask / comment on this reddit post : https://www.reddit.com/r/homelab/comments/c0am7v/qnap_hybrid_backup_sync_30_to_backblaze_b2/
Here's the backup plan

- My PROXMOX node backup all very important VM on a QNAP volume with only one backup retain
- Hybrid Backup Sync backup all the data to B2 object storage with a 30 days retain on all data
Create the bucket on BackBlaze
Before going on QNAP, we need to define the bucket, in my example, the bucket name would be qnap-tuto-lbdg
In the object storage world, the bucket is the "data deposit"
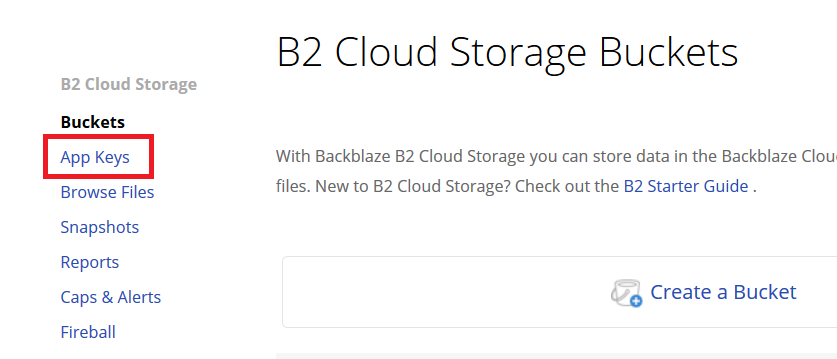
First logon your BackBlaze account, and browse on Buckets
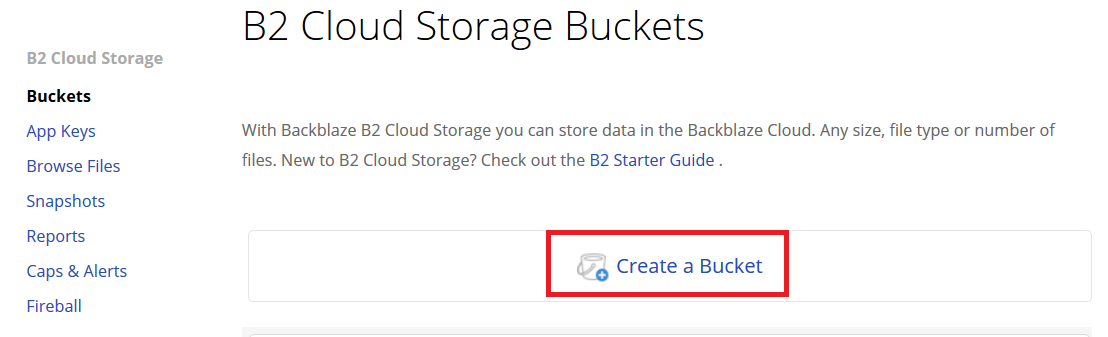
Then, create a new bucket
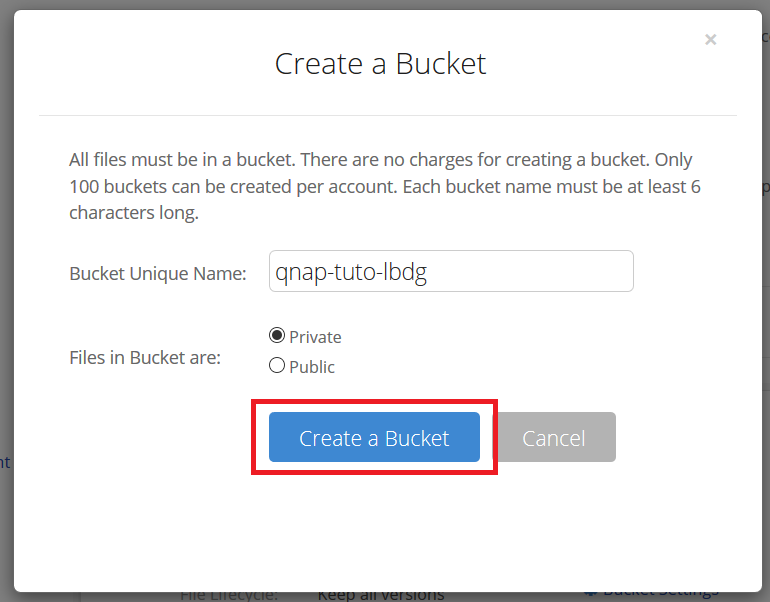
Choose a name for the bucket, and set it as Private
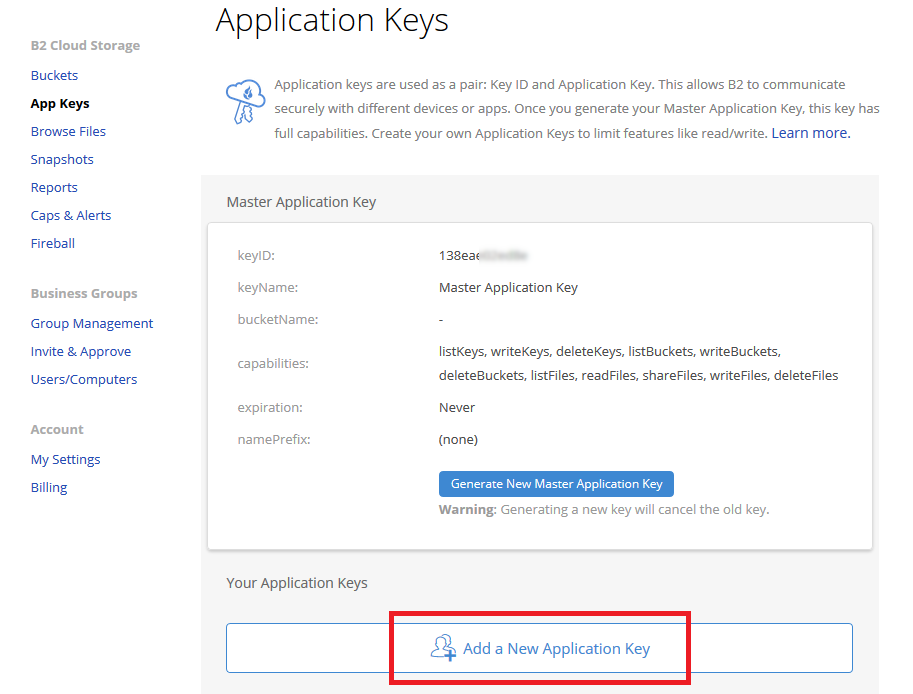
The bucket is created, now, I don't recommand to use your master key to connect from QNAP, so we create a new application key
Click on the App Keys menu
Then Add a New Application Key
- Chose a name for the key, it could be everything, it's more like a description
- Select to allow access on qnap-tuto-lbdg (previously created bucket)
- Chose Write-Read

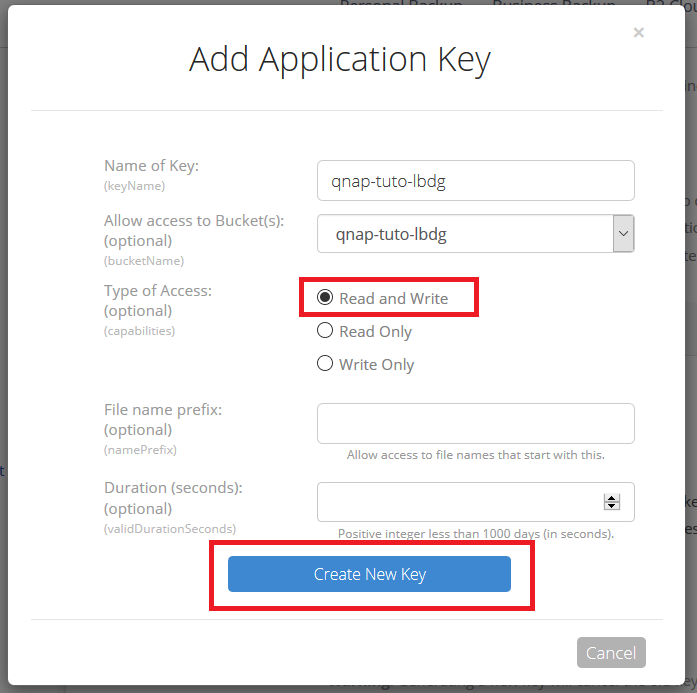
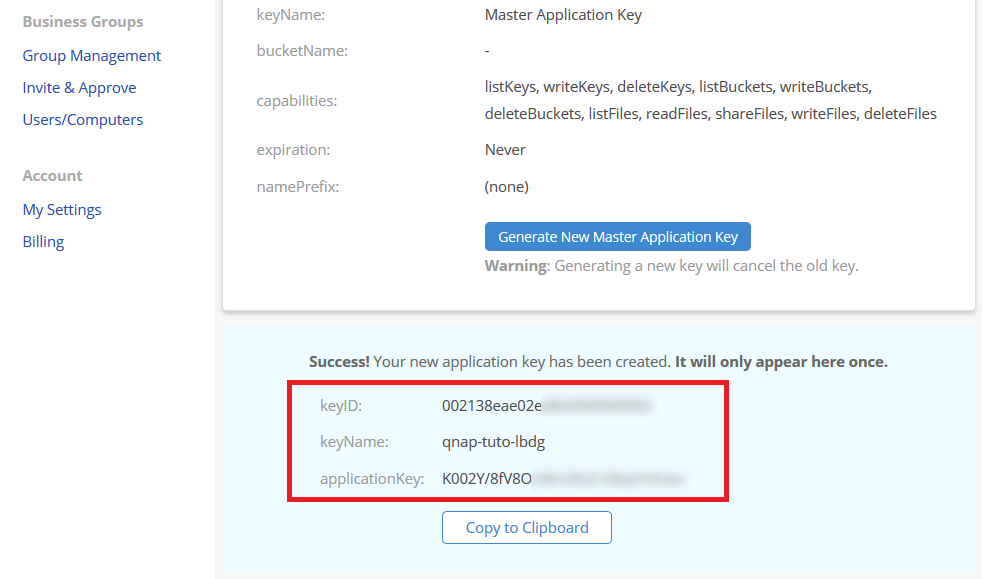
And create new key. At this point, don't leave the page.
BackBlaze will display a keyID & an applicationKey, the applicationKey only shows at this point and never could be displayed after.
Configuration the Storage Space on HBS 3
The new HBS 3 have more "split configuration" for the backup / sync jobs
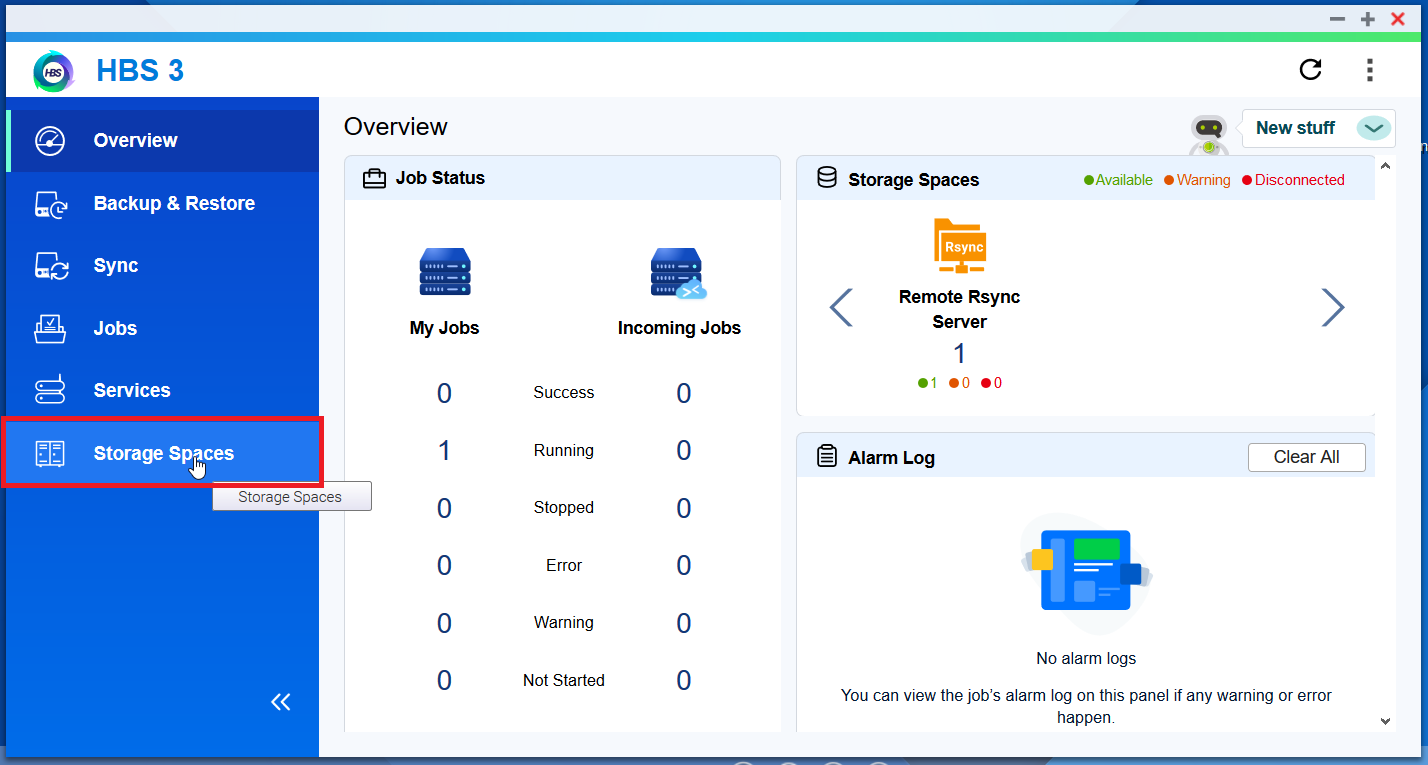
Create the BackBlaze profile on Storage Spaces
We browse to Storage Spaces to define the BackBlaze profil that will be used for the backup job.
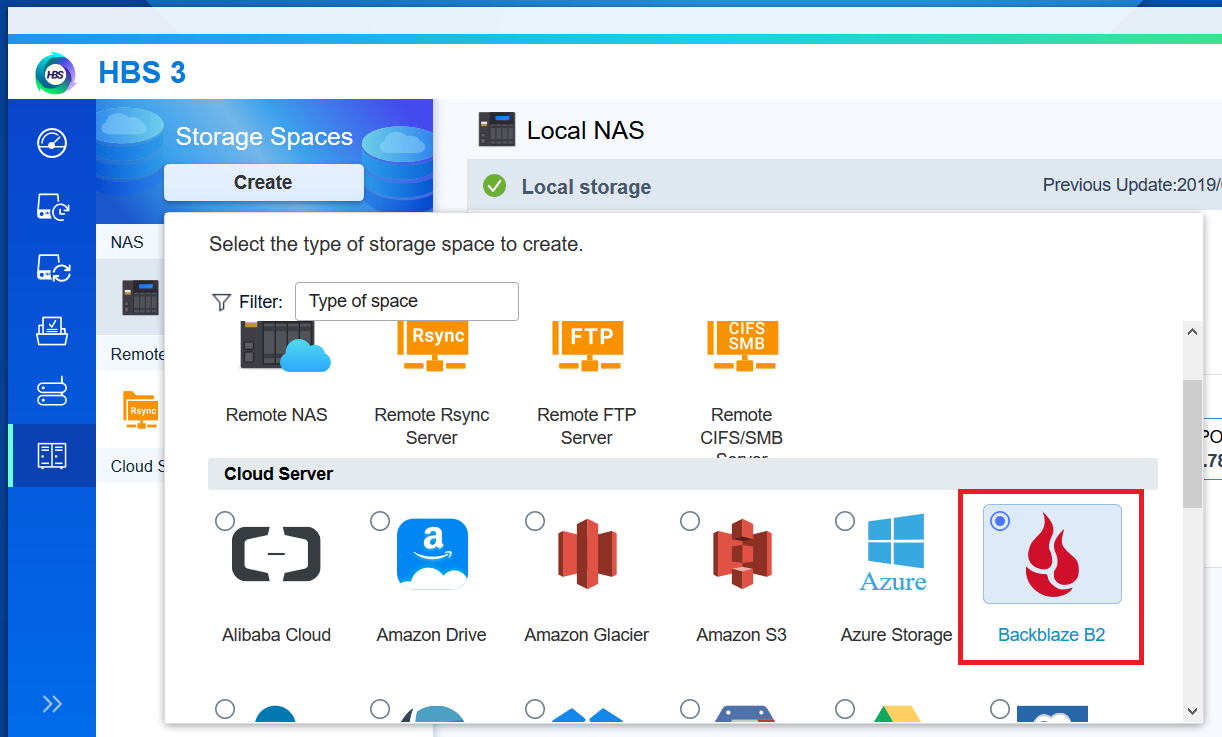
We create a new profil for Storage Spaces

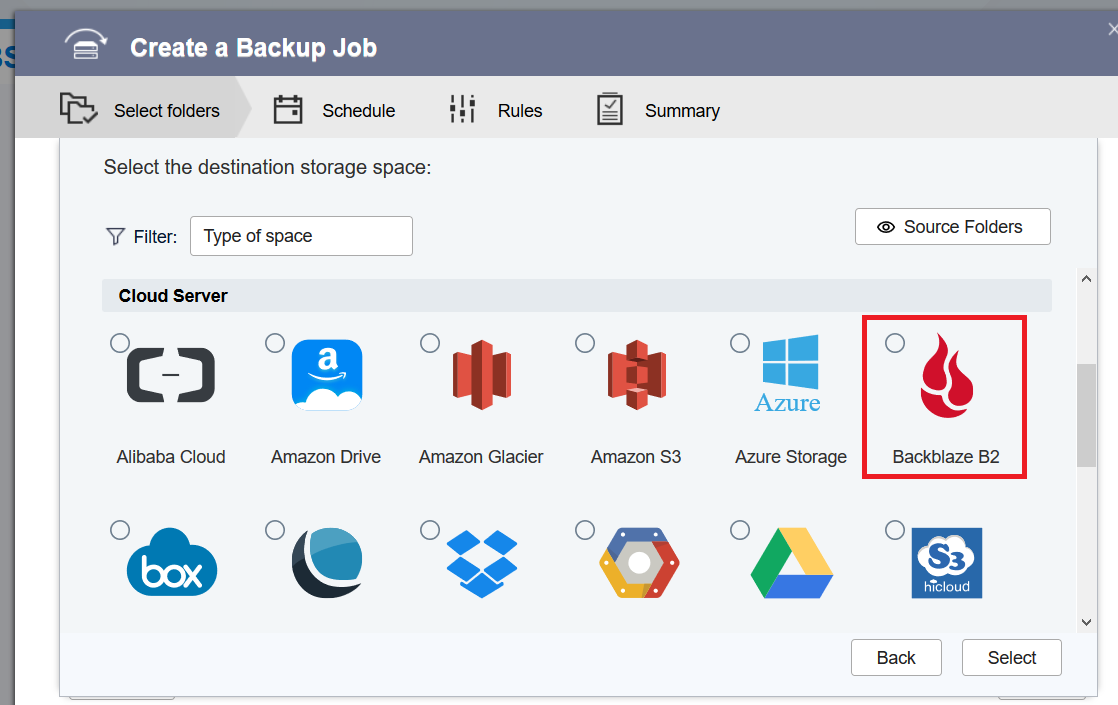
Select the service you want to connect, in our case, BackBlaze B2
The login informations are
| QNAP term | BackBlaze term |
|---|---|
| Account ID | ==> keyID |
| Application Key | ==> applicationKey |
Fill the forms with the previous generated app keys on the BackBlaze website
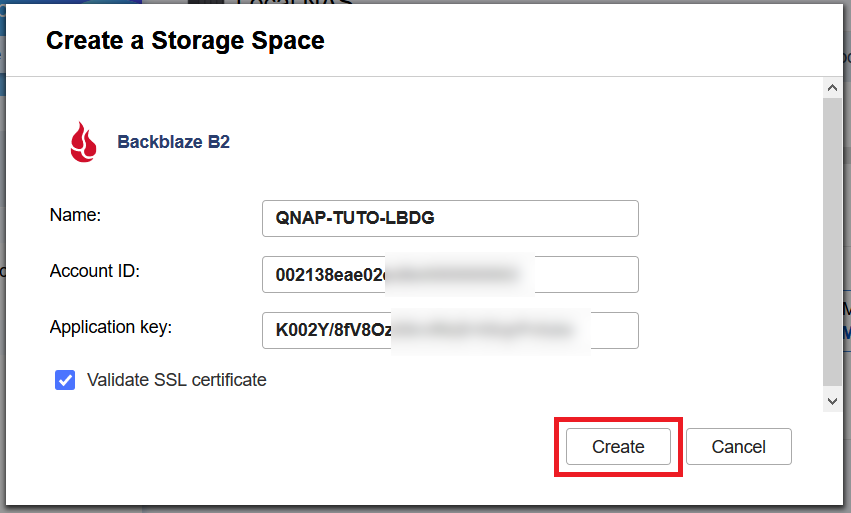
And then press create.
Now, the BackBlaze profile is created and can be used for the backup / restore configuration

Create the backup job
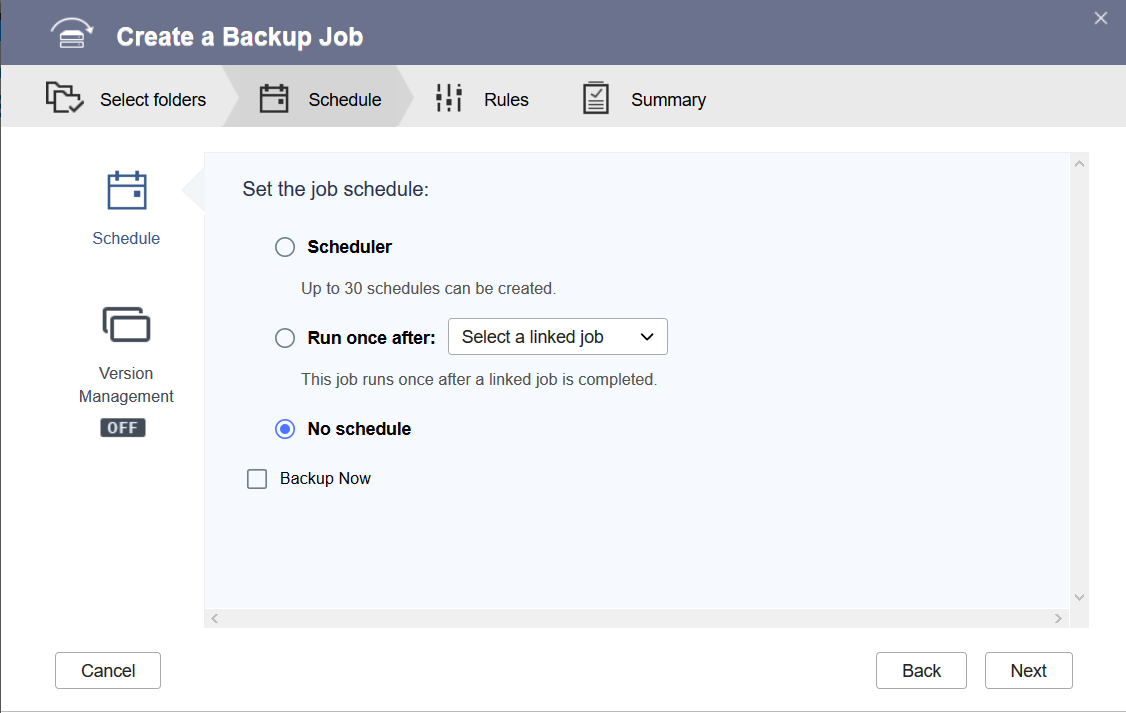
We create a backup job, that we can scheduled after the proxmox backup
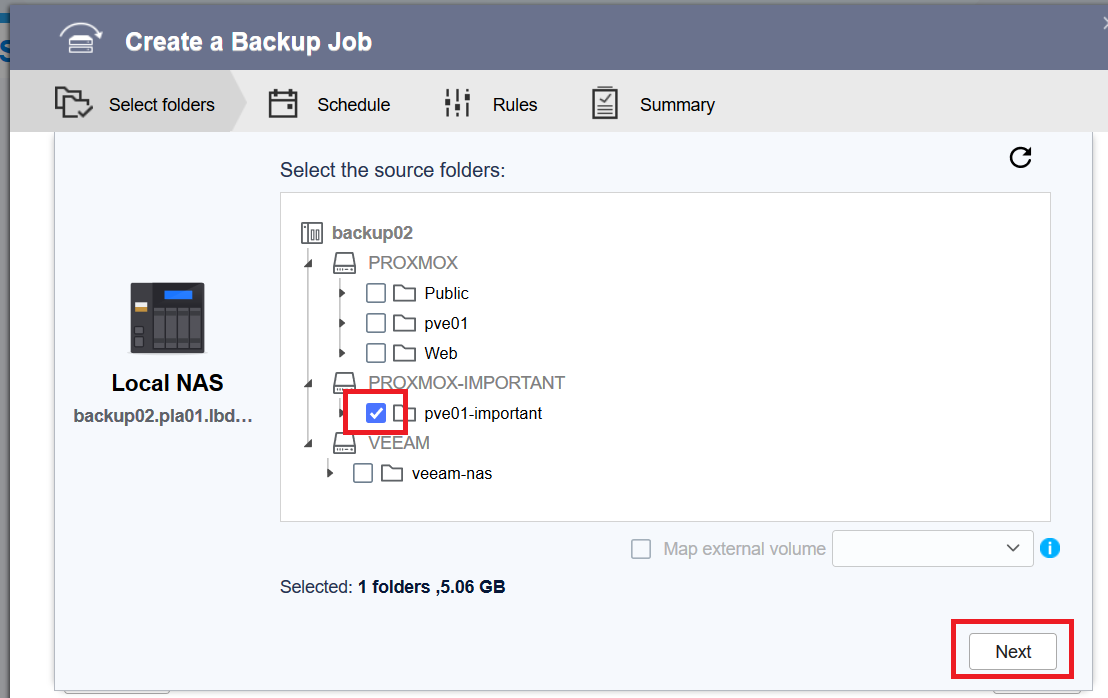
We select the concerned folder to backup "pve01-important"
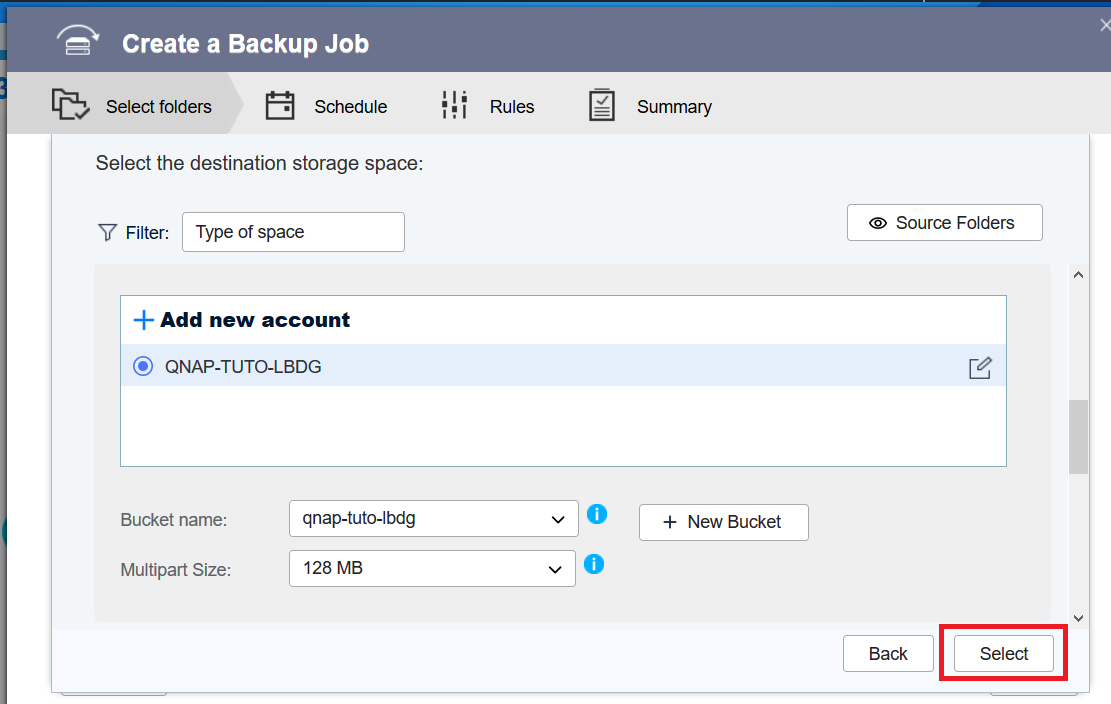
Then the destination, BackBlaze B2 :
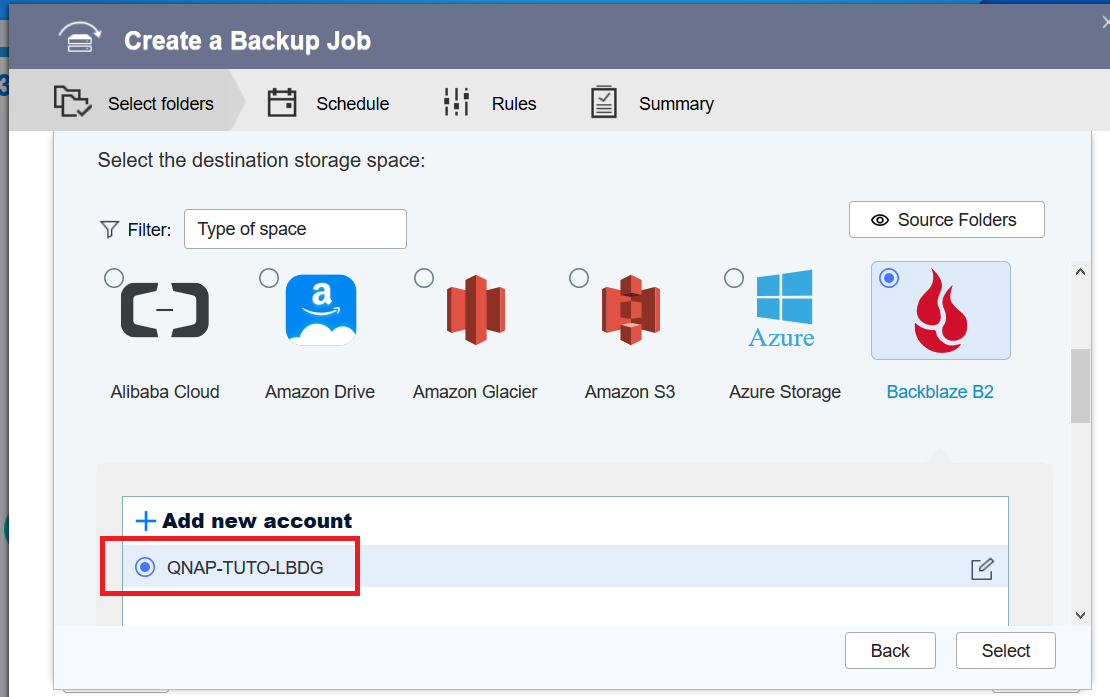
We see the previously BackBlaze profile, this contain all the connexion datas
And we scroll down to the BackBlaze B2 bucket name which we give access to ; and choose a multipart size, which is the size a single request on backblaze
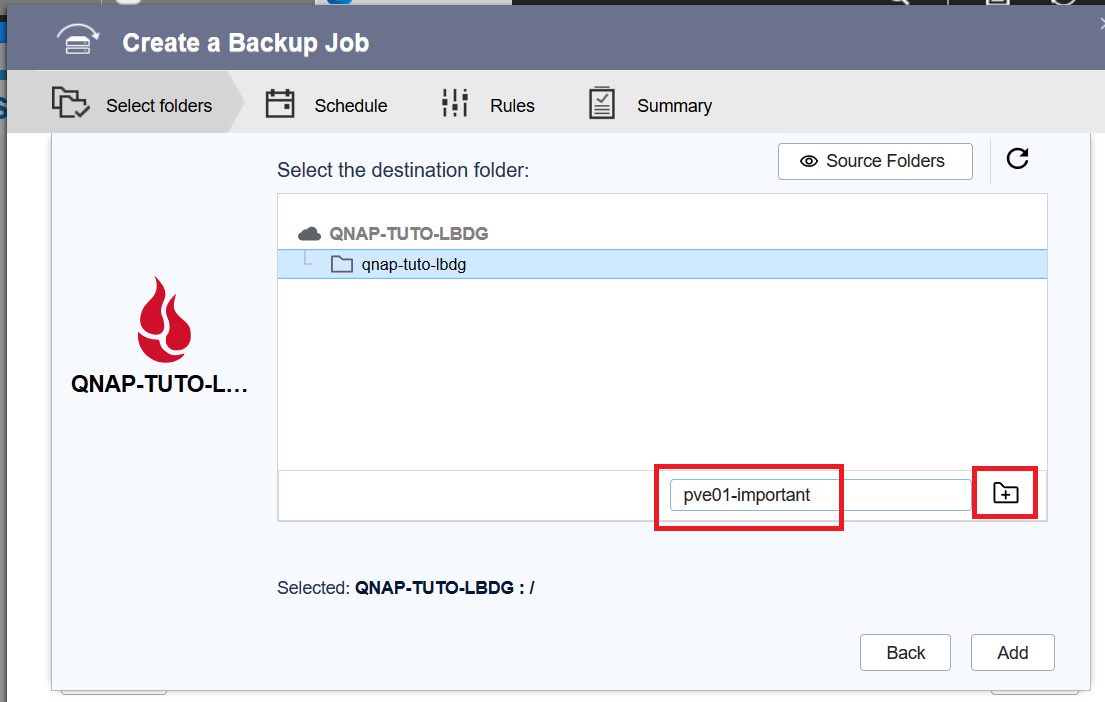
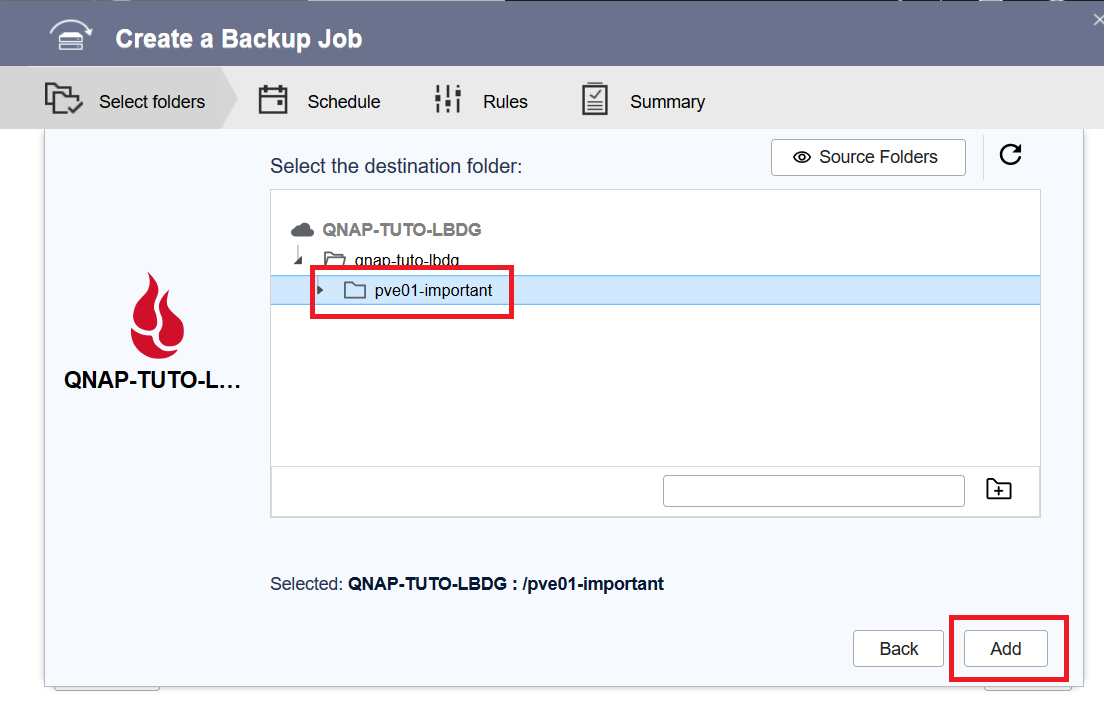
We also need to create a folder on the bucket, we cannot upload on the root folder
A short summary of the source and destination

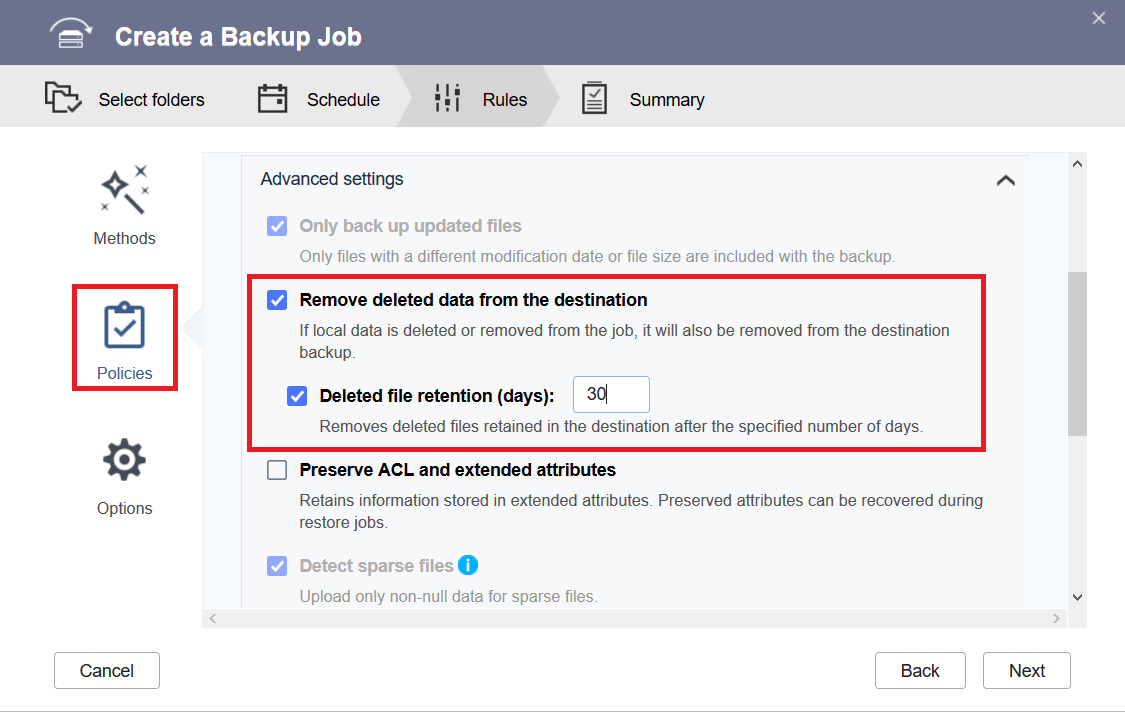
It could be enought for a simple backup job, but we want retention.
We go on the Policies tag, and check Remove deleted data from the destination, and define a retention of 30 days
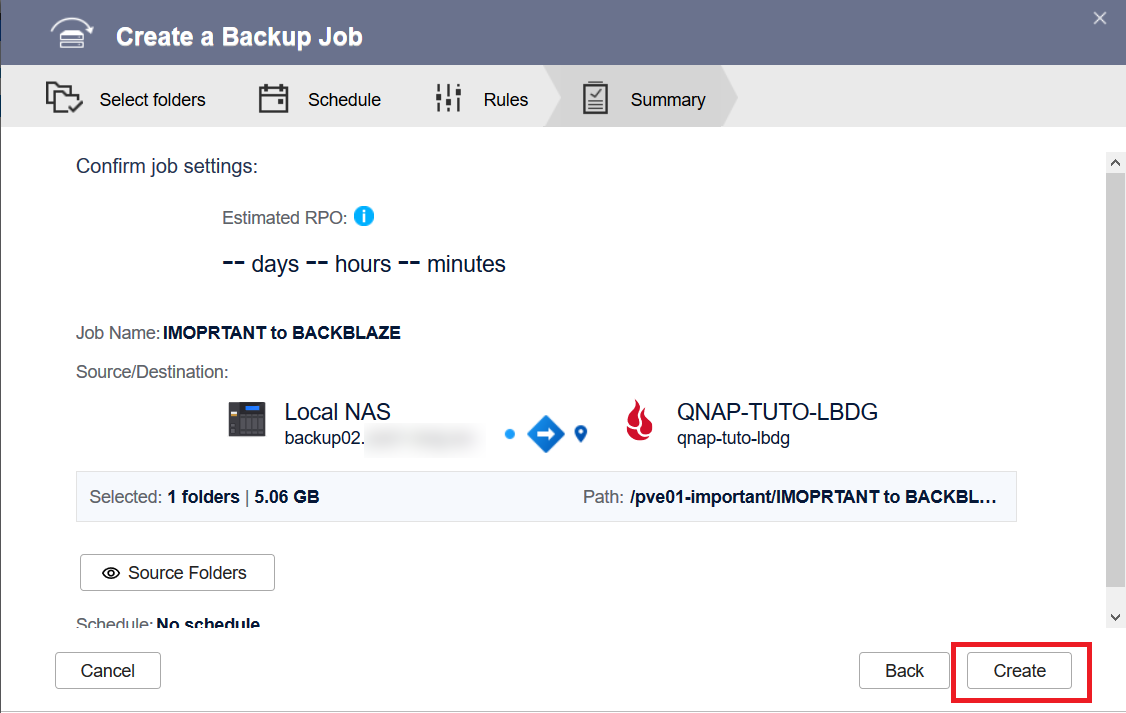
The last summary before creating the job
Then the job will process
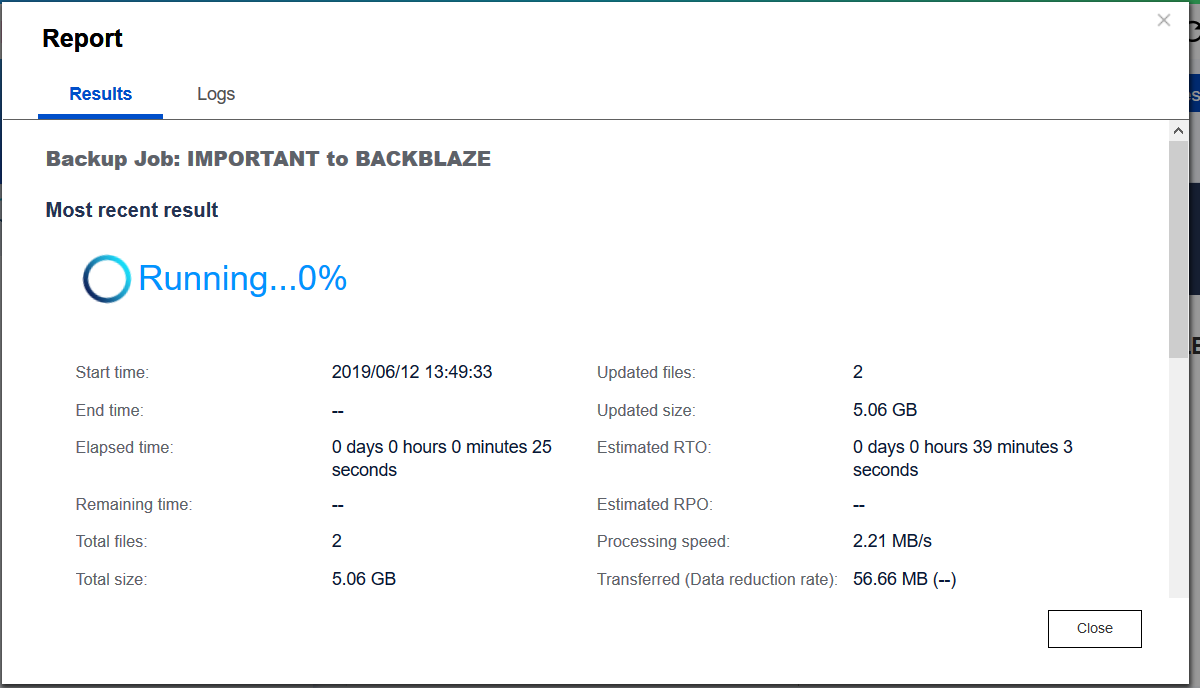
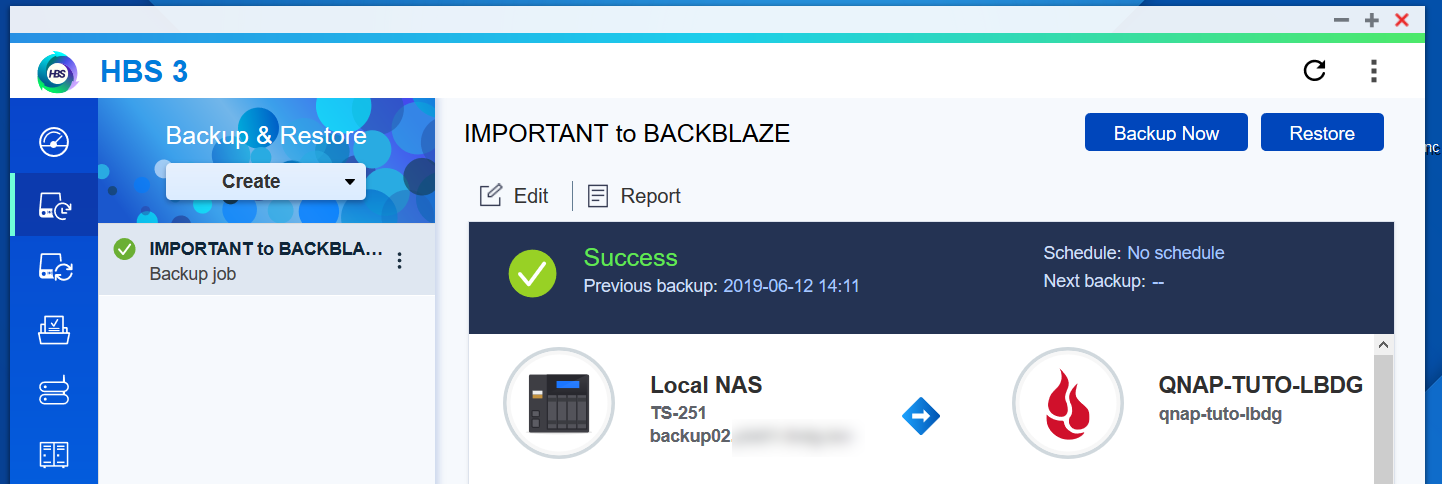
After ~15 minutes for 5.5 GB, the job is finished
In the BackBlaze website, we saw our files.

Resume
My average upload rate on BackBlaze B2 is 4.5 MB/sec. But my internet connexion is 500 Mbps. BackBlaze told me that is the performance for their service, it could be better with more parallel tasks.
Here's some results :
| Size | Duration |
|---|---|
| 5 GB | 20 minutes |
| 51.6 GB | 4 hours and 15 minutes |
BackBlaze is affordable and less than 1$ (for 100 GB) a month is worth it to have peace of mind over critical data