Install OpenManage Entreprise (OME) on Proxmox
Just like the people who have a Homelab, I'm scared about losing servers / datas and not having the information of a futur potential disaster.
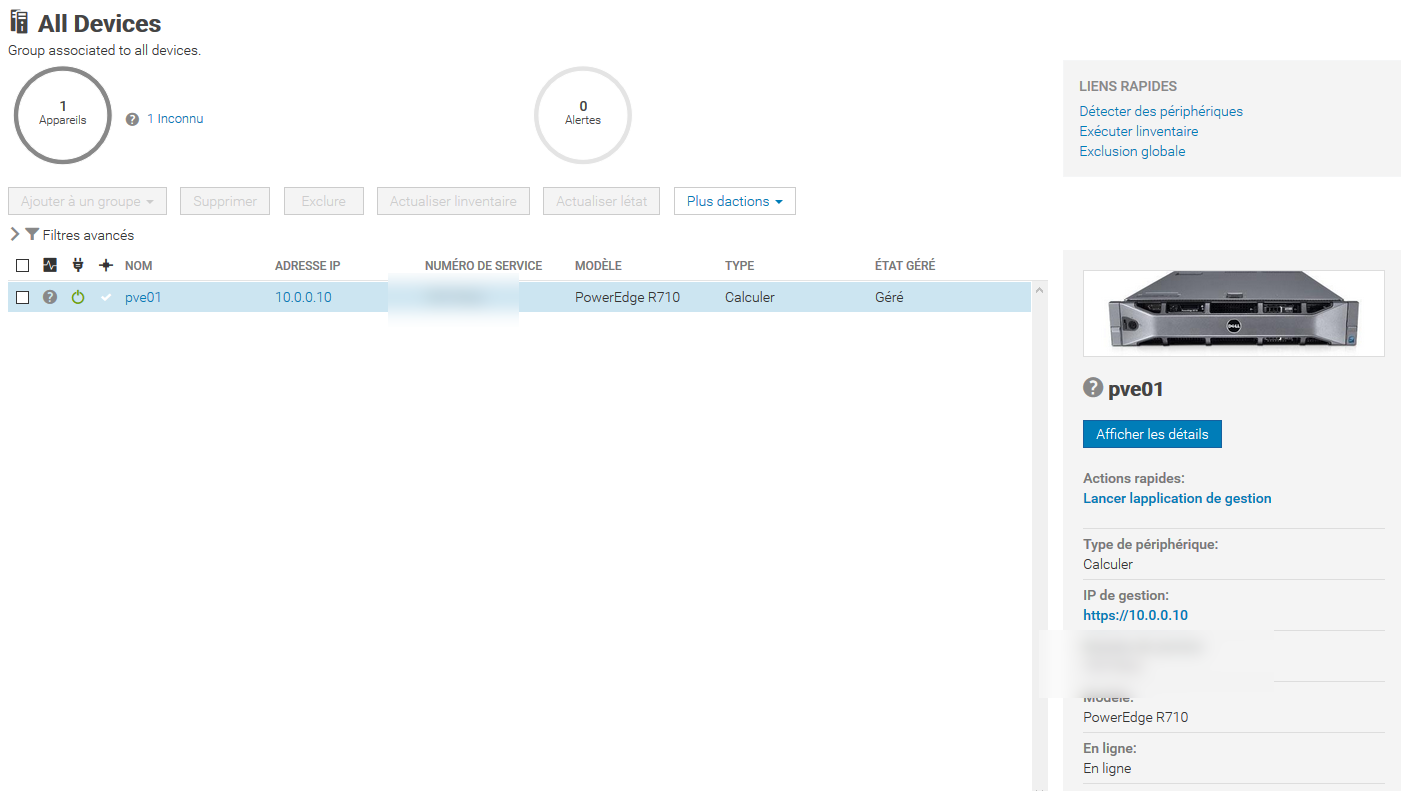
So I installed OME (OpenManage Entreprise) to monitor all of my Dell servers. I choose OME because I want something that I could use in my professional life.
The first problem is that Dell didn't provide an image for Proxmox.

Download the image
You need to go on this URL and complete the form : https://marketing.dell.com/en/OpenManageEnterprise
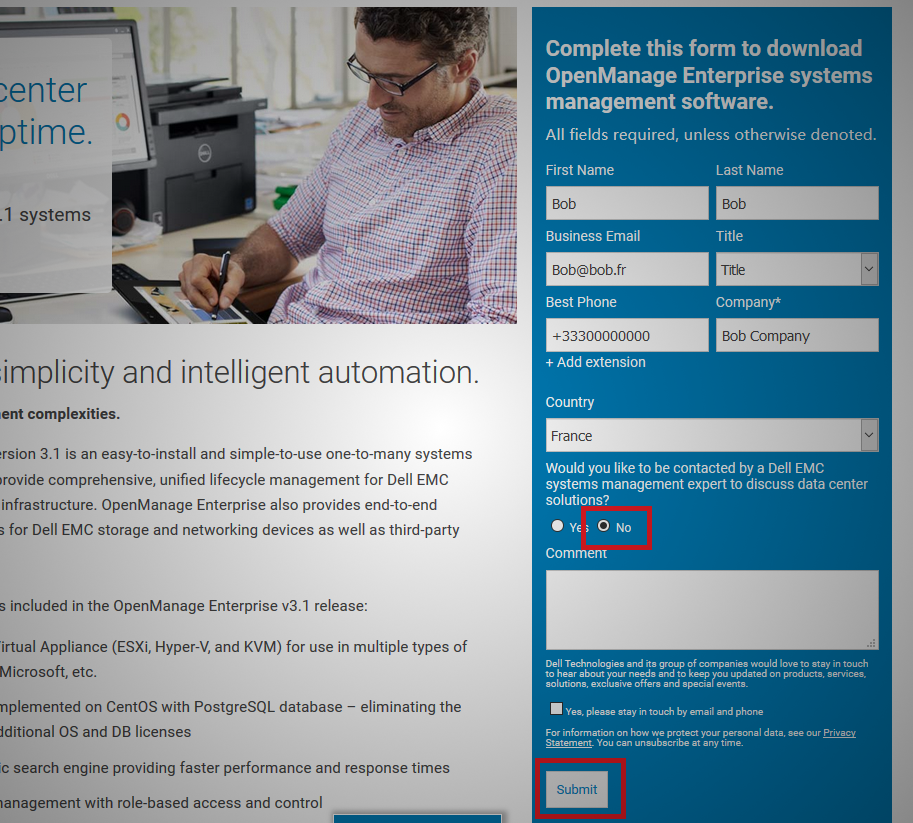 These are false informations for the guide, I'm not bob
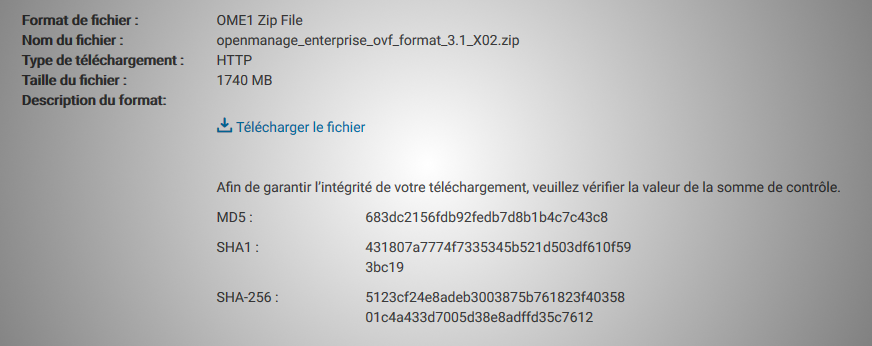
This finally gives us access to this loved download button

We're looking for the OVF format
Uncompress & convert
We need to install unzip on Proxmox
apt-get install unzip
unzip openmanage_enterprise_ovf_format_3.1_X02.zip\?uid\=3643957f-581f-42c6-283d-3dc20245b4f7\&fn\=openmanage_enterprise_ovf_format_3.1_X02.zip

2 files are interesting to us

The OVF file told us lot of informations, the VMDK used to deploy the VM and the populatedSize of the VMDK disk

VMDK to QCOW2
The qemu-img command is pre-installed on Proxmox, and can be used to convert (with the convert option) the "disk image filename" to another disk image format.

And here's most used format supported by the convert option
| Image format | Argument |
|---|---|
| QCOW2 (KVM, Xen) | qcow2 |
| VMDK (VMware) | vmdk |
| VHD (Hyper-V) | vhd |
| raw | raw |
| VDI (VirtualBox) | vdi |
| QED (KVM) | qed |
We have a VMDK used in VMware product (ESXI for exemple), we can convert it to qcow2
qemu-img convert -f vmdk openmanage_enterprise.x86_64-0.0.1-disk1.vmdk -O qcow2 OpenManageEntreprise-3-1.qcow2
Result of the command

Web interface - Proxmox, VM creation
I don't know why, but you cannot import a hard disk in the Proxmox VM creation, so we're gonna create a "fake one".
Create a new VM (a normal VM in many ways)
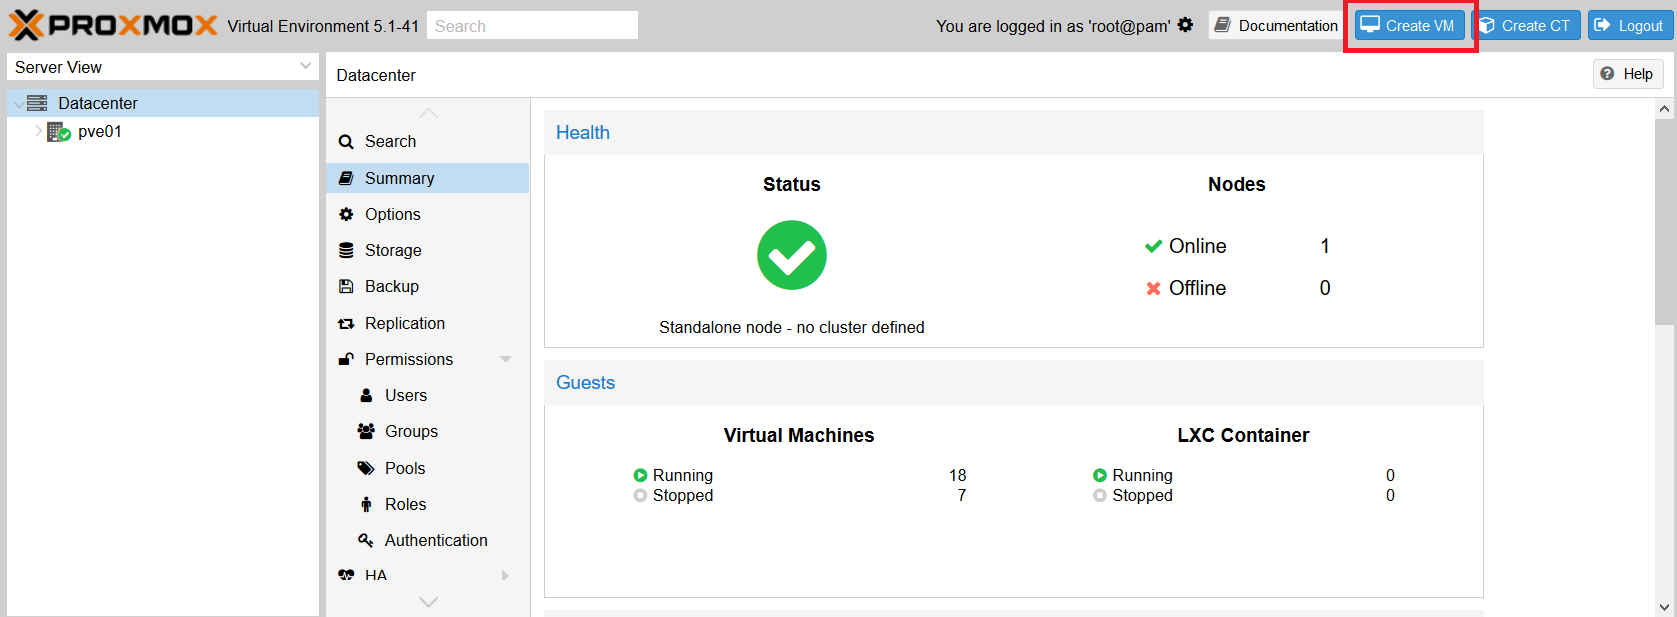
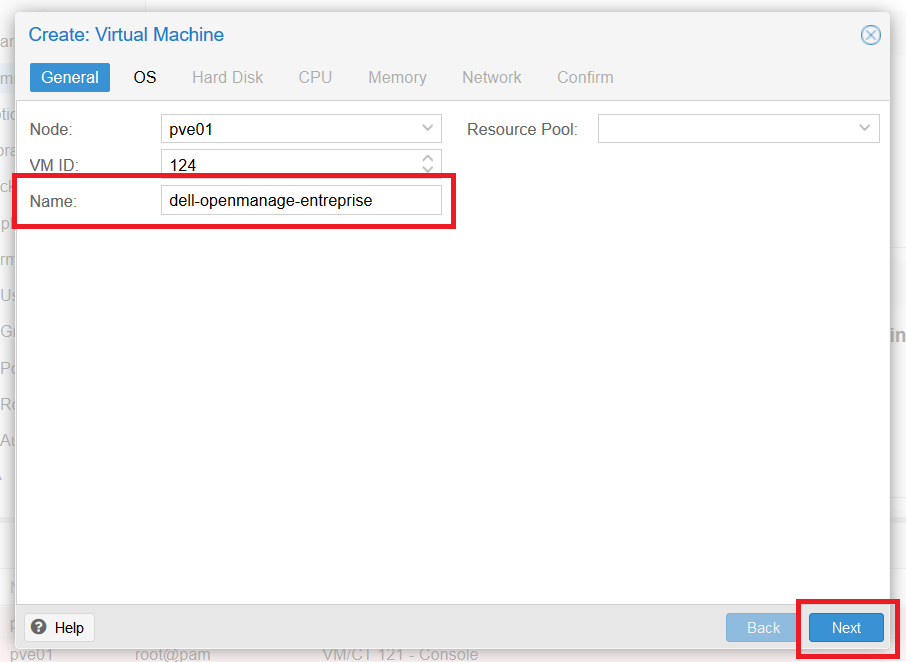
Chose a name
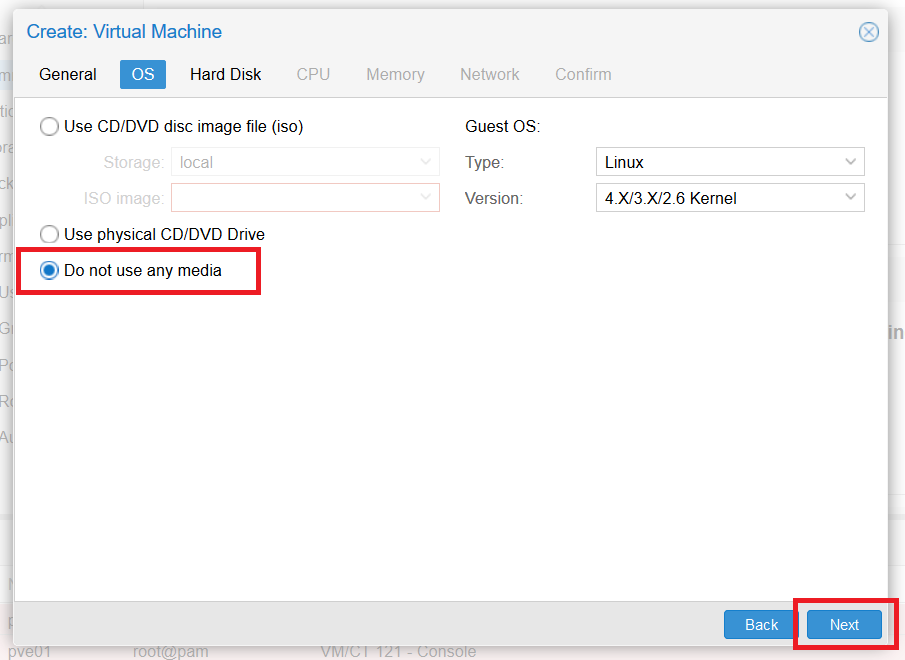
Do not use media for OS installation
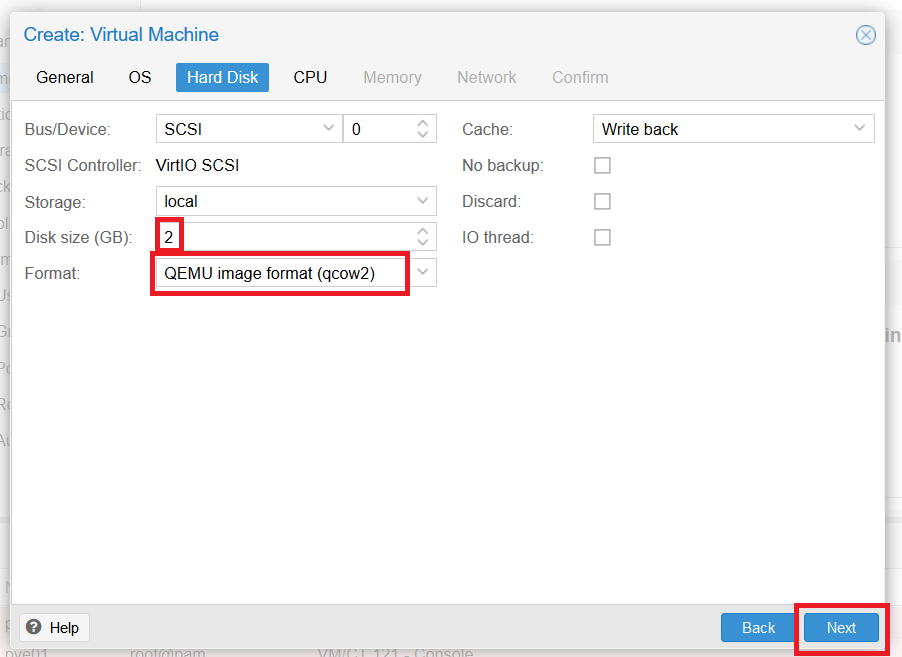
Create a 2 GB qcow2 disk
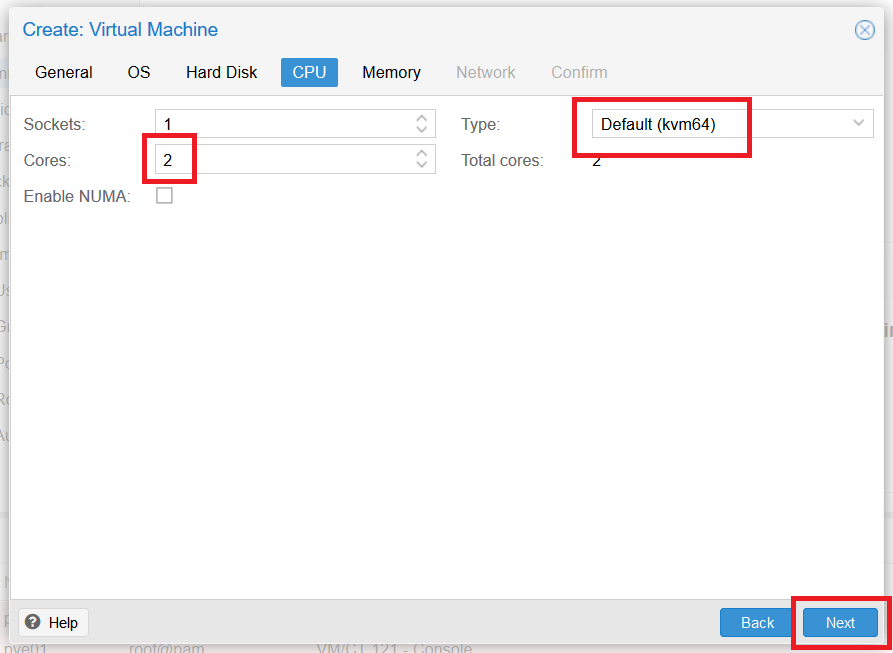
2 KVM cores
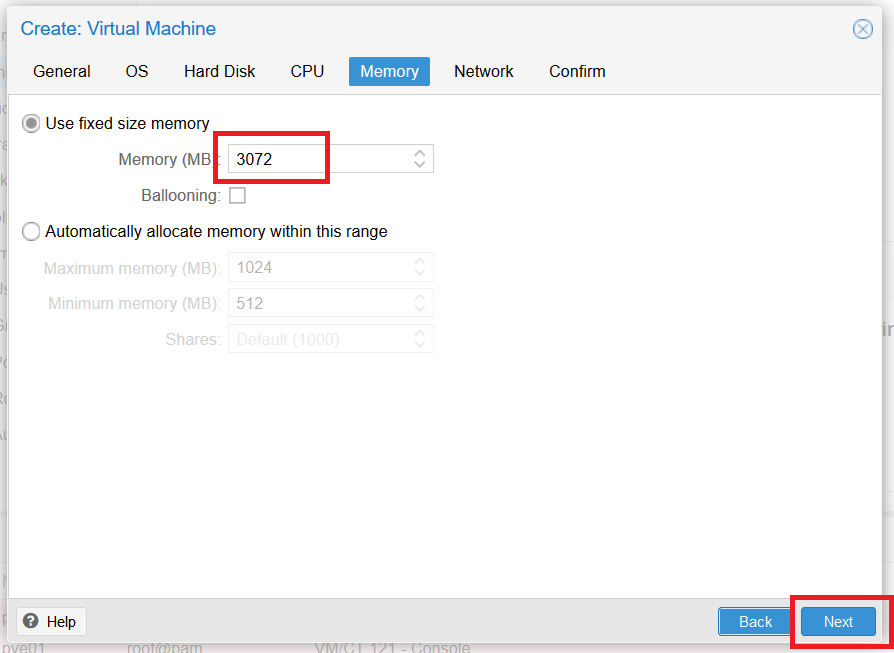
3072 GB of RAM, 4 would be better but I don't have so much RAM on my Proxmox
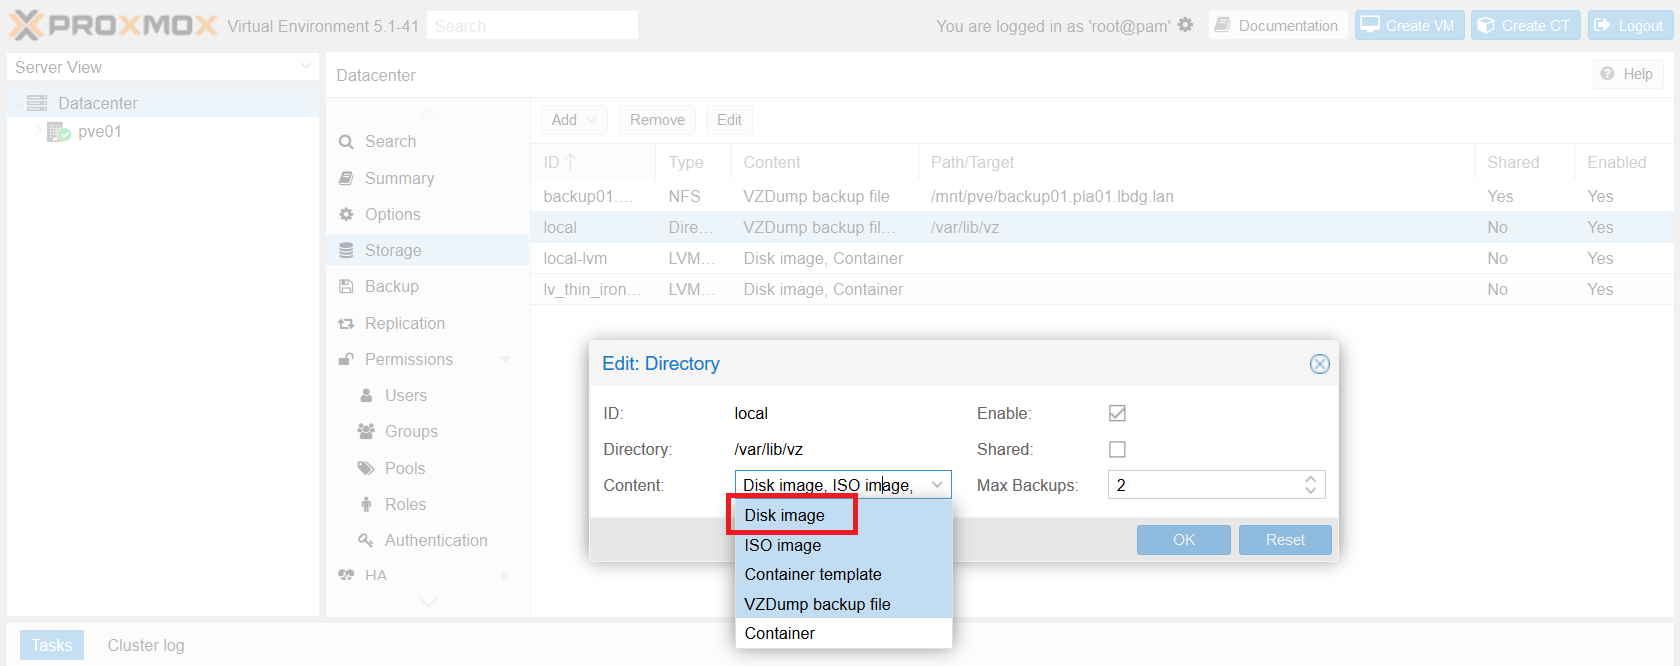
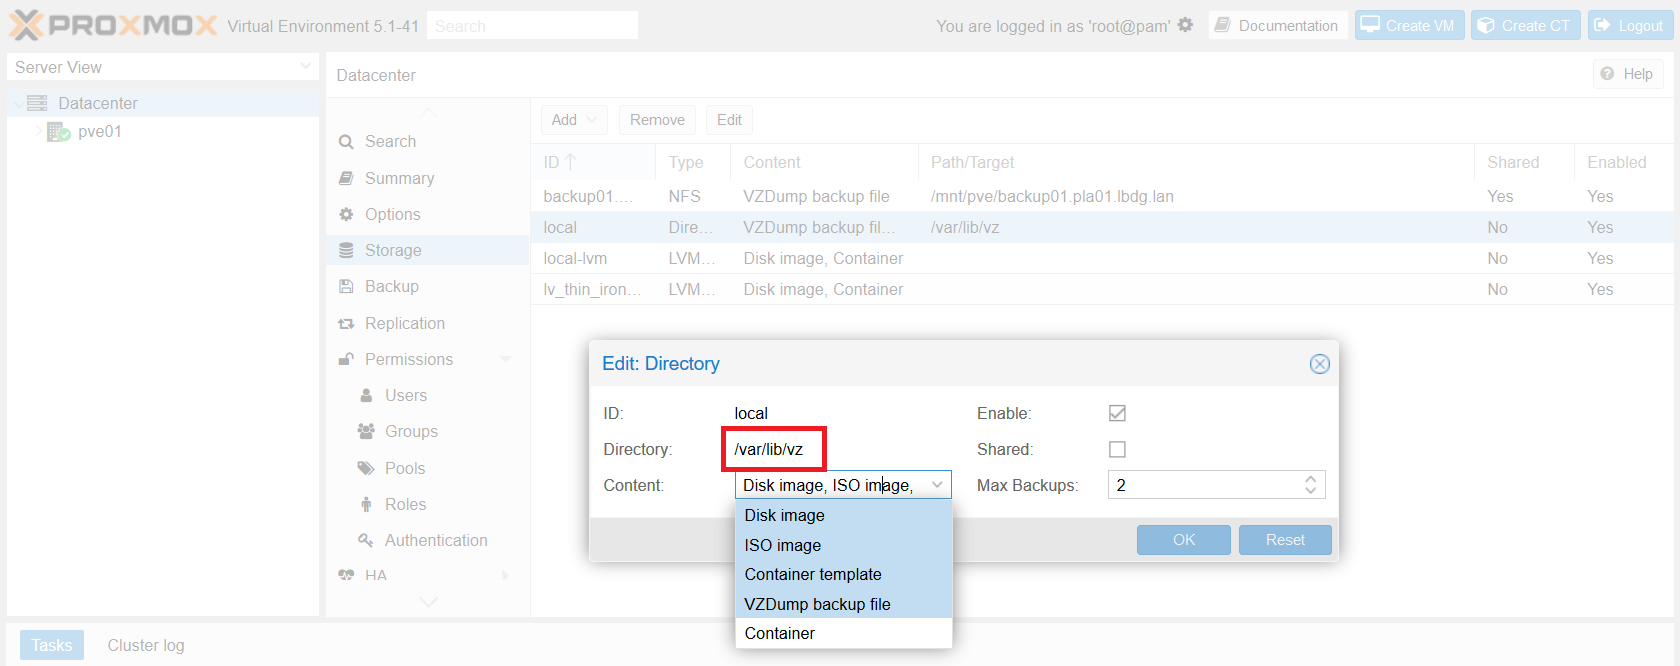
If you can't create a qcow2 hard disk it's because you need to enable the disk image content on your storage
Disk replacement
Now, we need to replace the disk created for this VM, first let's see the mounted point of the storage
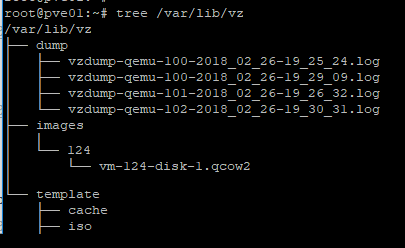
We did a little tree command and we see our VM with the ID 124
We replace the disk created by the Proxmox WEB interface by our new converted QCOW2 disk by using a cp command (to conserve a copy of the initiale QCOW2 file) :
cp appliance/vmx/ovf/OpenManageEntreprise-3-1.qcow2 /var/lib/vz/images/124/vm-124-disk-1.qcow2

Now, we start the VM and ...

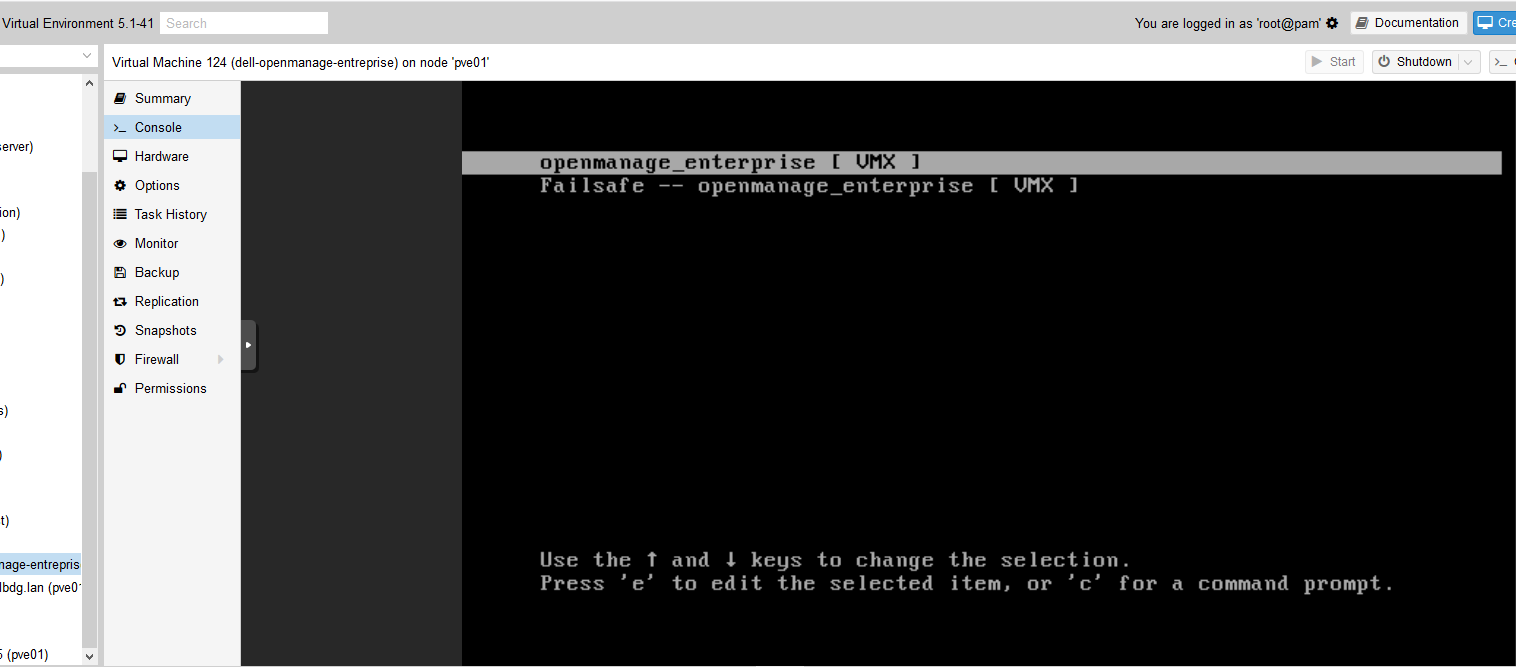
The first boot will take a while
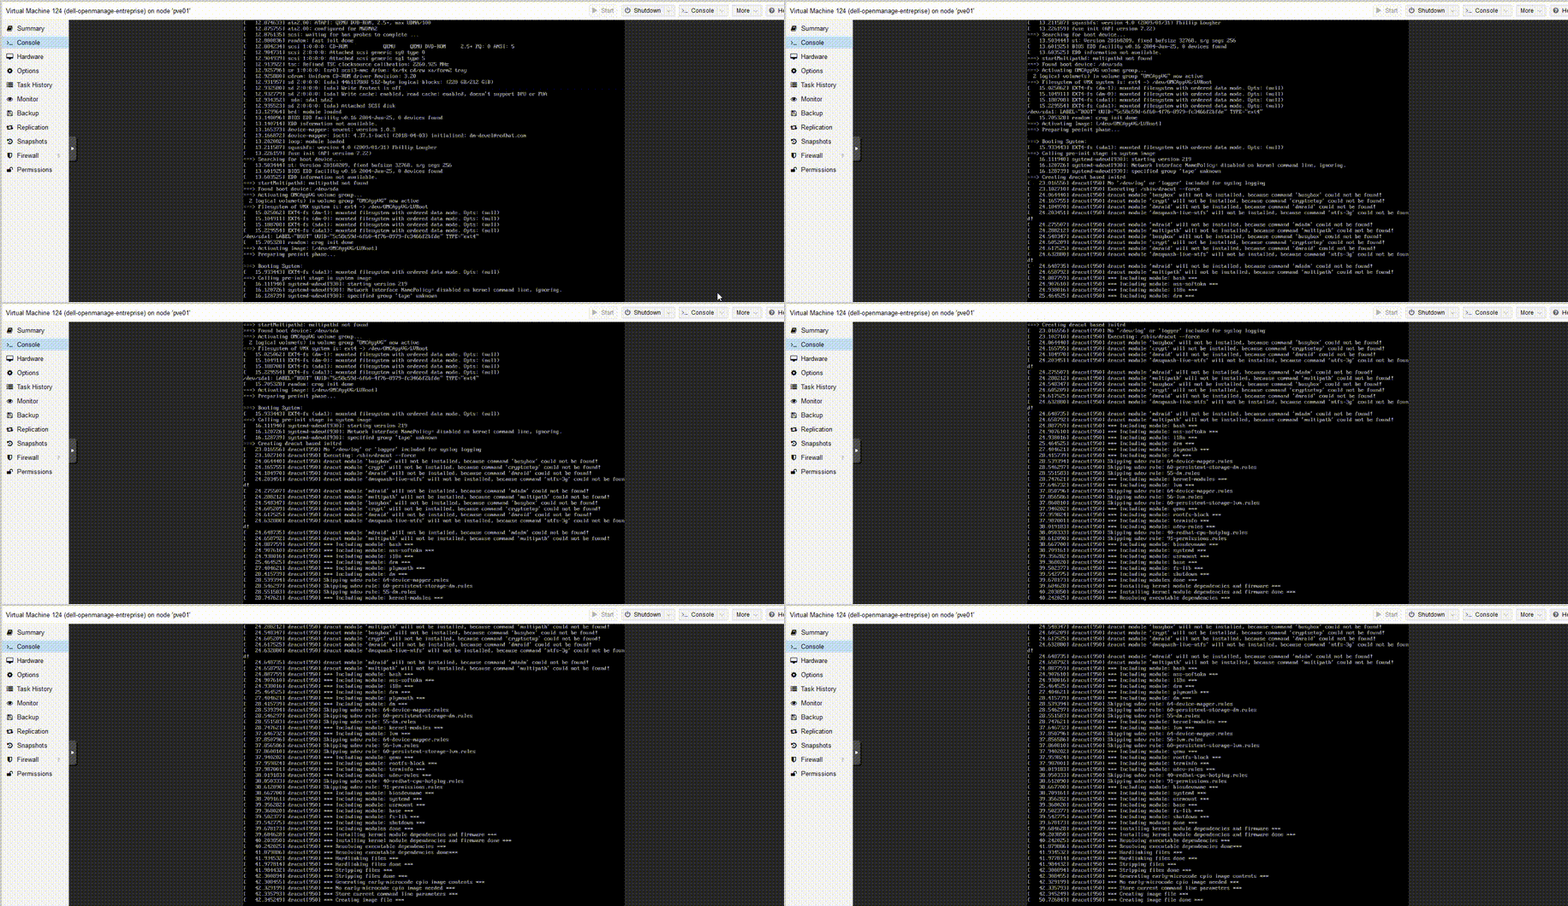
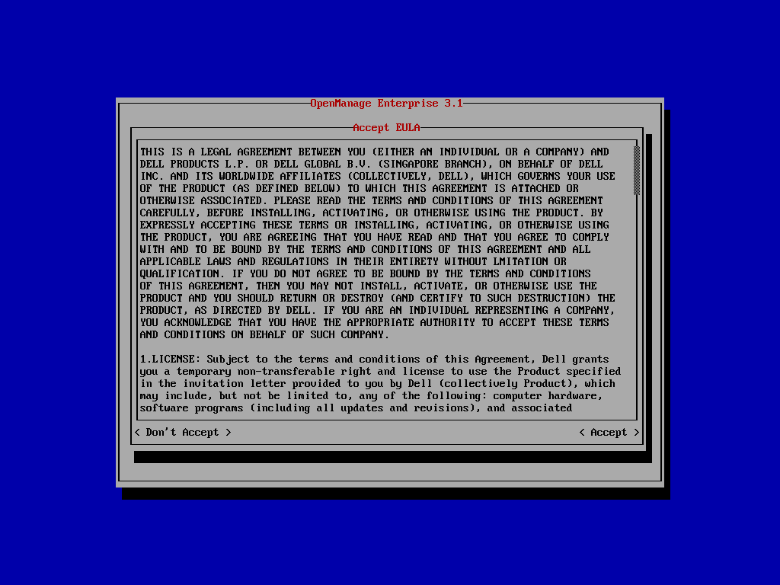
After this, you will need to configure the Appliance
It's been ... 10 days, and no complain about OME, it works fine, I just need some more servers to use it at his full potential 😝
